3D View Tools: 2D Seismic Data Controls
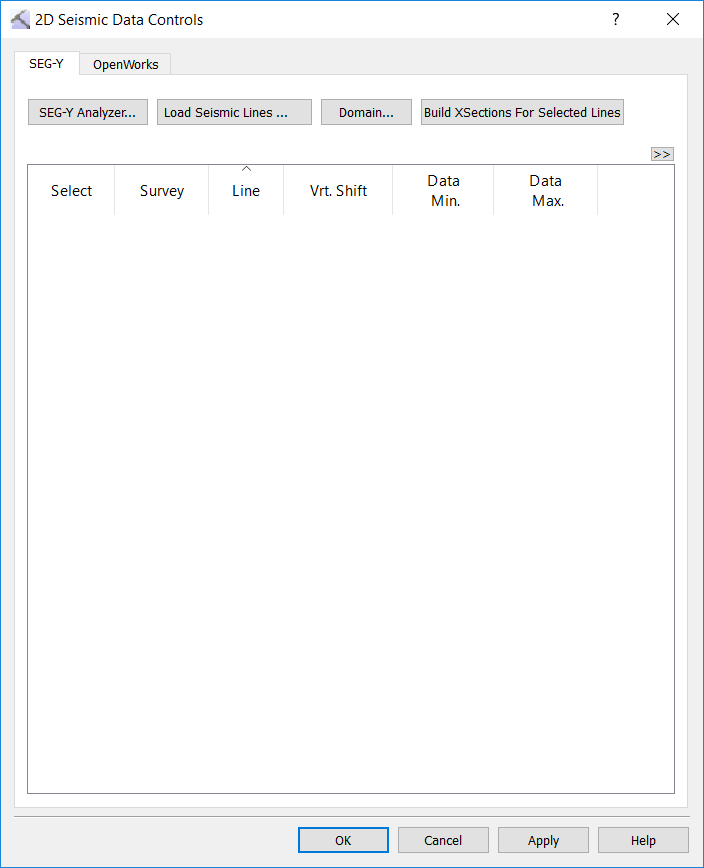
The 2D Seismic Data Controls dialog box is used to load and display 2D seismic data. To open the dialog box, on the Buttons toolbar, click  . To load seismic data, you need to create a parameter file in the SEG-Y Analyzer, and then select the parameter file. You can then display the seismic data as a backdrop to a cross section.
SEG-Y Tab
Use the buttons at the top of the tab to load seismic files, specify domain parameters, and create cross sections that correlate with the files.
 SEG-Y Analyzer: Open the SEG-Y Analyzer to create a 2D or 3D parameter file.
 Load Seismic Line: Select a SEG-Y parameter file (.sgyp, .segyp). The line associated with the parameter file will appear in the seismic line list.
 Domain: Open the Seismic Domain dialog box to specify the domain for the seismic data. Note that if you are working with data in the time domain that you will need a checkshot file.
 Build Cross Sections for Selected Lines: Automatically create cross sections for all selected 2D seismic lines.
OpenWorks Tab
Load Seismic Line: Open the OpenWorks Project Selection dialog box and select from the list of available projects. Once selected, a list of 2D lines will appear in the 2D Surveys list.
 Domain: Open the Seismic Domain dialog box to specify the domain for the seismic data. Note that if you are working with data in the time domain that you will need a checkshot file.
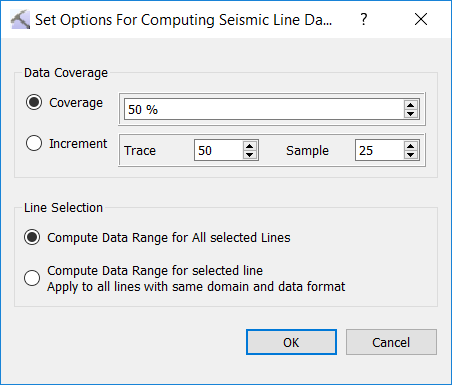
 Options: Open the Set Options for Computing Seismic Line Data Range dialog box.
 Compute: Apply the options from the Set Options for Computing Seismic Line Data dialog box to the applicable seismic lines.
Build Cross Sections for Selected Lines: Automatically create cross sections for all selected 2D seismic lines.
-
Click
to create a cross section that corresponds to the line you want to display. -
In the 3D View window, click
 .
. -
Place a check mark in the Seismic Backdrop column. The color spectrum and opacity filter can be changed or edited from the 2D Seismic Data Controls dialog box.
-
Click
to create a cross section that corresponds to the line you want to display. -
In the Cross Section View window, click
 . This will open the Cross Section Seismic Backdrop dialog box.
-
In the Map View window, click
 .
. -
Click on the 2D Seismic tab. (This is the Drop-down text)
— MORE INFORMATION

|
Copyright © 2020 | SeisWare International Inc. | All rights reserved |