3D Visualizer: Toolbars
The 3D Visualizer application has several toolbars used to manipulate the orientation and appearance of the data in the scene. To add or remove a toolbar, right click on a toolbar and select the toolbar you want to add or remove.
Slider Toolbar

The Slider Toolbar is used to move inlines, crosslines, slices, and culture within the scene.  See Slider Toolbar options...
Inline/Crossline/Z-Slice Value/Culture Z: This value represents the inline, crossline, depth, or time of the current slice or culture folder. Use the up and down arrows ( ) to step through the slices one at a time, or, to navigate to a specific line or slice, type a value into this field and press Enter on your keyboard. Note: You can use keyboard shortcuts to change slices.
Selection Slider: Click and drag the slider ( )
to change the slice being displayed. This slider's position is
relative to the slice's position in the volume. Click on either side
of the slider to advance through the volume by the Step Rate. Note: You can use keyboard shortcuts to change slices.
)
to change the slice being displayed. This slider's position is
relative to the slice's position in the volume. Click on either side
of the slider to advance through the volume by the Step Rate. Note: You can use keyboard shortcuts to change slices.
Step Rate: The number of slices by which your display will change when you click your mouse on either side of the slider bar (), or when you press Page Up or Page Down on your keyboard. Type a value into this field to change the Step Rate.
Color Toolbar

The Color Toolbar displays the color palette of the currently selected object, and can be used to change the current palette. See Color Toolbar options....
Palette: Select a color palette from the list of available palettes, or use the keyboard shortcutC or Ctrl+C to scroll through the list of palettes. The color is applied to the item currently selected in the Scene Tree dialog box. The palette selection will also be updated in the Object Properties dialog box when applicable. Note: This toolbar is only active when the selected object is associated with a color palette.
Z Scale Toolbar
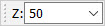
The Z Scale Toolbar is used to define the vertical exaggeration of your scene. See Z Scale Toolbar options...
Z: Select from a list of predefined scales, or manually enter a value to determine the vertical exaggeration of the display. Note that this is the same as the Z Scale setting associated with the Scene Properties in the Object Properties dialog box.
Camera Toolbar

The Camera Toolbar is used to take a screen capture of your scene. See Camera Toolbar options...
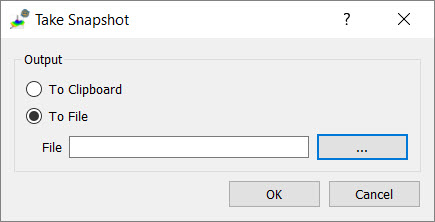
 Take Snapshot: Open the Take Snapshot dialog box to safe the scene to the clipboard as a *.bmp image, or same the scene to a file.
Output Options
To Clipboard: Save the current scene to the clipboard as a bitmap (*.bmp) image.
To File: Save an to current scene an image file. Click  , enter a file name, and select a file type. Choose from * png, *.jpg, *.tiff, and *.bmp.
Properties Toolbar

The Properties Toolbar controls orientation and zoom levels. See Properties Toolbar options...
 Set Home: Define a home position for the scene.
 Go Home: Return to the home position for the scene.
Orient: Select from the list to orient the scene.
North: Center the data in the scene and orient the display with north facing into the screen.
North-Z: Center the data in the scene and orient the display to map view
with
north in the up direction.
Inline: Center the data in the scene and orient the display to look directly at the inline of the currently selected seismic volume. Note: This is only available when an object associated with a seismic volume is selected.
Crossline: Center the data in the scene and orient the display to look directly at the inline of the currently selected seismic volume. Note: This is only available when an object associated with a seismic volume is selected.
Z: Center the data in the scene and orient the display to look directly at the slice. Note: This is only available when an object associated with a seismic volume is selected.
 Zoom to Fit Window: Scale the scene to fit all visible data
into
the
window.
Zoom to Fit Window: Scale the scene to fit all visible data
into
the
window.
 Zoom
In:
Zoom in on the scene. The center of the scene will remain in the same location.
Zoom
In:
Zoom in on the scene. The center of the scene will remain in the same location.
 Zoom
Out:
Zoom out on the scene. The center of the scene will remain in the same location.
Zoom
Out:
Zoom out on the scene. The center of the scene will remain in the same location.
 /
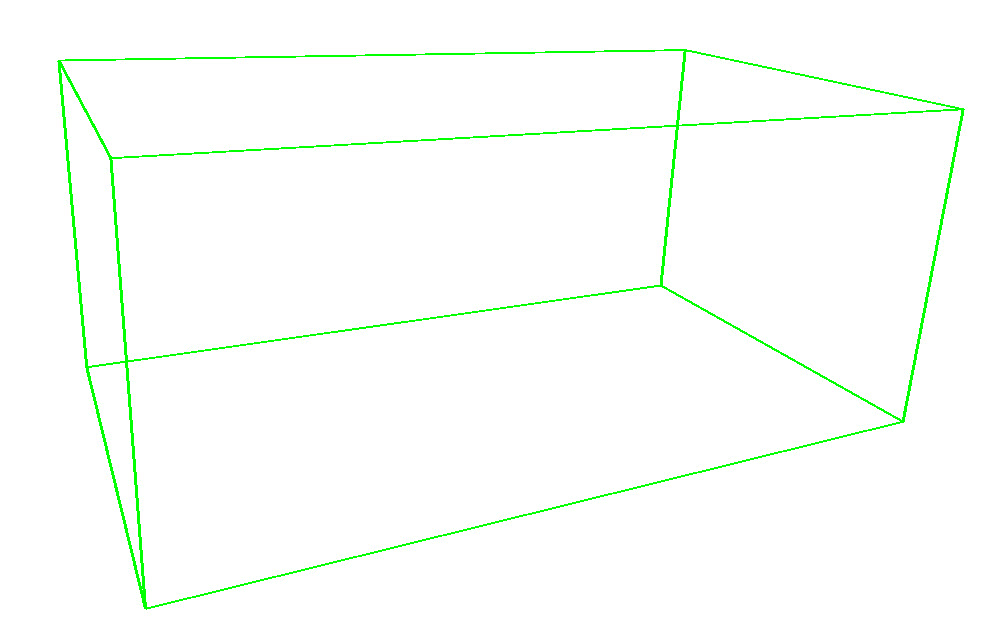
/ View Orthographic/Perspective: Switch between orthographic and perspective camera views.
Orthogonal: View the scene with no perspective, with all lines orthogonal to the projection plane.
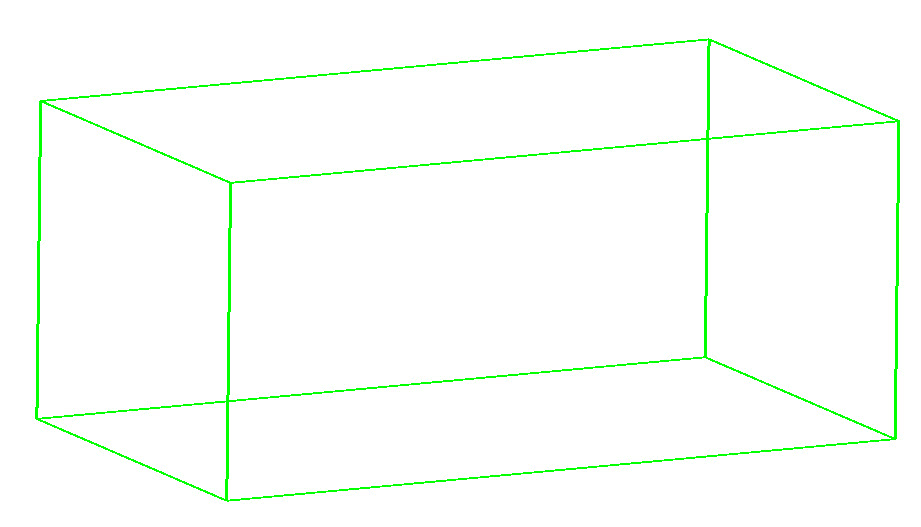
Perspective: View the scene with perspective, allowing objects to appear smaller when they are farther away from the camera.
Mode Toolbar

The Mode Toolbar is used to switch between navigation and selection modes, and to define a center of rotation for your scene. See Mode Toolbar options...
 Navigate: Enter navigation mode to manipulate the orientation and zoom level of the display. Alternately, use the keyboard shortcut Ctrl+N.
 Select: Enter selection mode to select data items. Alternately, use the keyboard shortcut Ctrl+S.
 Anchor Point: Click on the display to create a center of rotation. Alternately, use the keyboard shortcut . .
 Stop: Stop the current operation. Alternately, use the keyboard shortcut Esc.
