Log Editor: Edit Well Tops
You can easily add, edit, and delete well tops in the Log Editor. Note that when you add, edit, or delete a top the change is written to the database. To undo any of these actions, on the Track Toolbar click the Undo icon ![]() , or use the keyboard shortcut Ctrl + Z.
, or use the keyboard shortcut Ctrl + Z.
-
On the Track Toolbar, click the Edit Well Top icon
 . This will open the Edit Well Top Toolbar.
-
Select a formation from the Formation list, or type in the name of a new formation.
-
Select a source from the Source list, type in the name of a new source, or leave this field blank to assign a blank source.
-
Place your cursor on any track. A line will appear across all tracks in the Active Curve Color. The Depth field will display the current depth of you cursor.
-
Click to place the top.
Note: To undo the addition of a top, on the Track Toolbar click the Undo icon ![]() , or use the keyboard shortcut Ctrl + Z.
, or use the keyboard shortcut Ctrl + Z.
-
On the Track Toolbar, click the Edit Well Top icon
. -
Do one of the following:
-
Right click on the top you want to delete and select Delete Top from the shortcut menu.
-
Place your cursor on the top you want to delete and press Delete on your keyboard. Note: The top will change to the Active Curve Color when it is active.
-
-
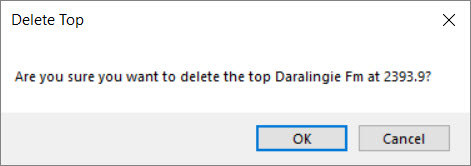
In the Delete Top dialog box click
 .
.
Note: To undo the deletion of a top, on the Track Toolbar click the Undo icon ![]() , or use the keyboard shortcut Ctrl + Z.
, or use the keyboard shortcut Ctrl + Z.
-
On the Track Toolbar, click the Edit Well Top icon
. -
Place your cursor on a near a top. Note: The top will change to the Active Curve Color when it is active.
-
Click and drag the top to a new position, and then release. The Depth field will display the current depth of you cursor.
Note: To undo an edit, on the Track Toolbar click the Undo icon ![]() , or use the keyboard shortcut Ctrl + Z.
, or use the keyboard shortcut Ctrl + Z.
Also See
— MORE INFORMATION

|
Copyright © 2020 | SeisWare International Inc. | All rights reserved |