Well
Properties: Criteria/Bubbles
Criteria and bubbles are used to change the appearance of a well based information associated with the well. Wells that meet the criteria can by highlighted using a shape, or their well symbols can have unique color and size properties applied. Additionally, you can vary the size of the shapes and symbols using the bubble tools. Another option allows you to create a pie graph representing production/injection data centered around the well symbol.
Criteria can be simple, or can be created by joining simple criteria using "and" and "or". You can make create as much criteria as you like, and turn each one on or off as you need them.
Click the Quick Entry Wizard Icon (
 ). This opens the Criteria dialog box.
- Select your options on the Criteria tab. When you are creating a bubble map or displaying production pie bubbles, you don't need to specify any criteria. Click on the Display/Bubble Settings tab to select your display parameters.
Available criteria options are:
Select your display options on the Display/Bubble Settings tab. From here you can specify the color and size of a shape applied to a well if a criteria is met, the color and scale factor applied if a criteria is met, or select the data to include in the creation of a production pie.
Click
 .
.
Your criteria will now appear in the Well Criteria list. You can turn it on and off with the check mark, and re-order it using the icons.
Well Criteria Options
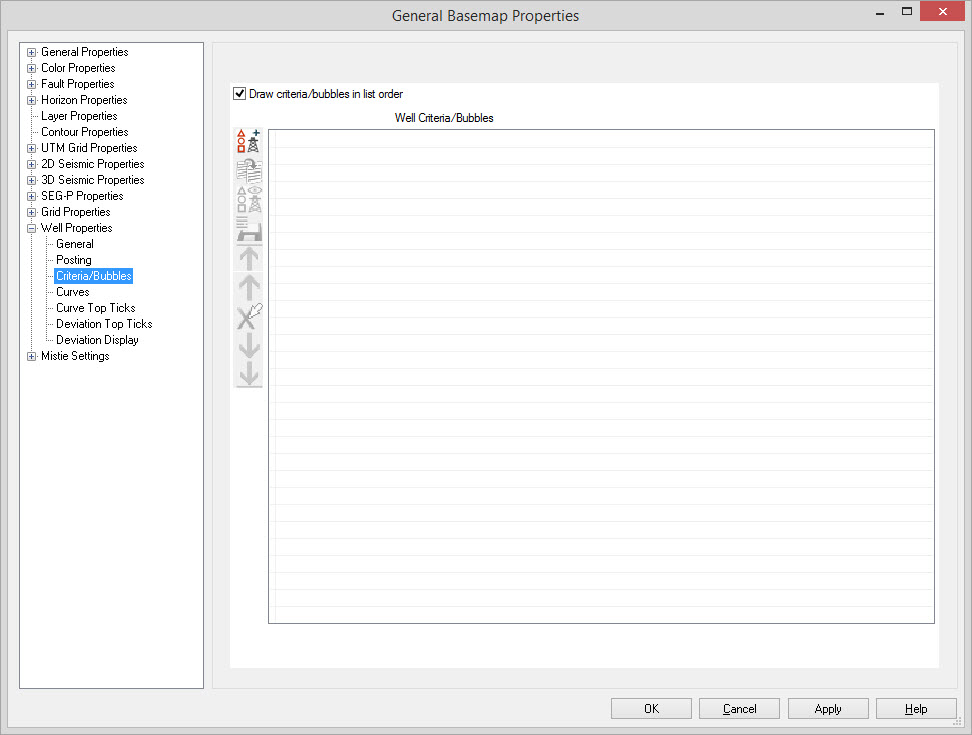
Draw criteria/bubbles in list order: When this is turned on, criteria will be drawn on the map in the order they appear on the list. An item that appears higher in the list will be drawn above other criteria on the map. When this is turned off, criteria will be drawn with smaller objects on top.
Well Criteria Icons
Use the following icons to add, edit, and delete criteria, and to change the order they appear in the list.
![]() Quick Entry Wizard:Use
this to launch the Criteria dialog box and create a criteria.
Quick Entry Wizard:Use
this to launch the Criteria dialog box and create a criteria.
![]() Duplicate Selected Entry:Create a copy of
the currently selected criteria.
Duplicate Selected Entry:Create a copy of
the currently selected criteria.
![]() Edit Properties:Open
the Criteria dialog box so
that changes can be made to the selected criteria.
Edit Properties:Open
the Criteria dialog box so
that changes can be made to the selected criteria.
![]() Save Criteria as Filter: Save the selected criteria as an Advanced Criteria Filter. You will have the option to give the filter a name and apply the filter.
Save Criteria as Filter: Save the selected criteria as an Advanced Criteria Filter. You will have the option to give the filter a name and apply the filter.
![]() Move to top:Move
the selected criteria to the top of the list. This means that criteria
will be drawn topmost.
Move to top:Move
the selected criteria to the top of the list. This means that criteria
will be drawn topmost.
![]() Move
item up one line:Move the selected criteria up one line
on the list.
Move
item up one line:Move the selected criteria up one line
on the list.
![]() Delete Selected Item:Delete the selected
criteria.
Delete Selected Item:Delete the selected
criteria.
![]() Move item down one line:Move the selected
criteria down one line on the list.
Move item down one line:Move the selected
criteria down one line on the list.
![]() Move item to bottom: Move
the selected criteria to the bottom of the list.
Move item to bottom: Move
the selected criteria to the bottom of the list.
Also See
— MORE INFORMATION

|
Copyright © 2020 | SeisWare International Inc. | All rights reserved |